
Use the tools and materials you already have, or use Ride Engine’s pre-made shaper’s block. Either way, a properly placed and installed track system is really important
Best case scenario of an improperly installed foil mount: The setup works but your stance isn’t the way you want it and/or the board rides at an awkward angle. Worst case scenario: Your board is ruined and your foil is lost to the bottom of the ocean.
It goes without saying, proper placement and installation of a foil mount in a custom surfboard is important. It’s not super complicated, and if you have the tools and experience needed to shape a board, you have all you need to install a foil mount that can be used with Ride Engine’s surf foil.
In the video below, Ride Engine founder and designer, Coleman Buckley, discusses some of the basic design characteristic important for a surf foil board, then goes through the simple step-by-step process of how to install two different types of foil mounts. For most foiling uses, the first process – using two Futures Strong Box longboard fin boxes parallel on each side of the stringer- is all you need. For higher-demand, higher-load situations, the second process- using the Ride Engine Shaper’s block- will give you added strength and torque tolerance.
Check out the video:
Overview of shape and design:
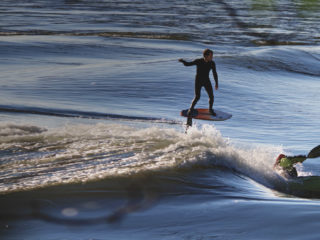
- Short, stiff and buoyant is the best shape. About 5’ to 5’2” is a good starting point- much over that is too long. Why? The shorter the board, the easier it is to pump, which is an important factor in surf foiling. Experienced foilers are getting down to the 3’6” range, but for your first board that’s a little short.
- Low rocker is important. You want the foil mount to be as level as possible in the tail so the board will ride at the proper angle, and nose rocker isn’t needed because the board never really needs to fit into the curve of the wave. Overall shape and design is to maximize paddling.
- Stiff is best, while maintaining a reasonable weight. Flex is a factor with regular surfboards, but with a foil you want all the energy from ever pump to be translated down into the foil, so you want the board relatively stiff. To achieve this you can use a thicker stringer and a little extra glass. At same time, you need to keep the board light.
Fin box method (for most normal applications where the foil isn’t going to be under extreme load)
- Foiling is evolving at a crazy pace, and people are figuring out new ways of doing things all the time. What we’re showing here is just the basic description of what has worked the best for us so far. I worked quite well and we’re confident in this method, but a better way will likely come along.
- Unlike a normal surfboard fin, a foil puts a lot more load and force on the box. For that reason, you don’t want to just drop the box in the deck and glass over it like normal. You need to create a stronger connection, all the way through the core of the board, like an “I-Beam” that connects the boxes to the deck glass on top to the glass on the bottom, with high-density foam in-between. This will spread the load through the core of the board, between the deck glass and the bottom glass, instead of just loading the glass on the bottom of the board causing the box to eventually tear out.
Shaper’s block method (for more extreme foiling when added strength and torque tolerance is needed) :
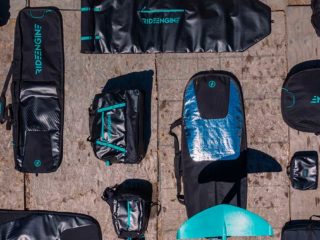
- Utilizes a custom product from Ride Engine, called the Shaper’s Block, which has reinforced tracks designed for higher tolerances, encased in a super high-density foam.
- For under $100, the Shaper’s Block is a simple and affordable solution for shapers who want the strongest mount possible.
- Keep in mind, the Shaper’s Block is super high-density foam, which is relatively heavy. If you don’t need the added strength, it may not be worth the added weight, in which case you’ll be better off with the dual fin box method.


1 comment